Deploy
To let players connect with each other, the WSNET server have to be hosted on a cloud machine. This tutorial will guide on deploying the server on the service Heroku, which offers a free plan to get started.
Other solutions are also available, e.g. AWS, Google Cloud, Digital Ocean, self hosting, etc..
Create a new Account#
Go on Heroku and follow the procedure to create an account.
Create a new App#
Once you are logged in, click on Create an app

Type your app name and select a region, then click the button Create app.

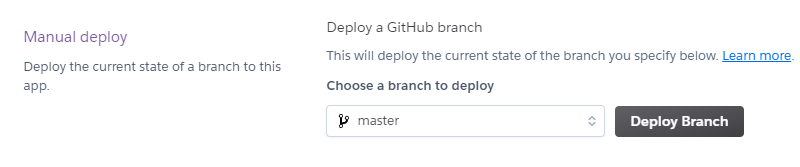
Deploy From your GitHub Repository#
Select GitHub as Deployment method and proceed to login

Fork our server project

Select the repository you just forked

Click Deploy Branch
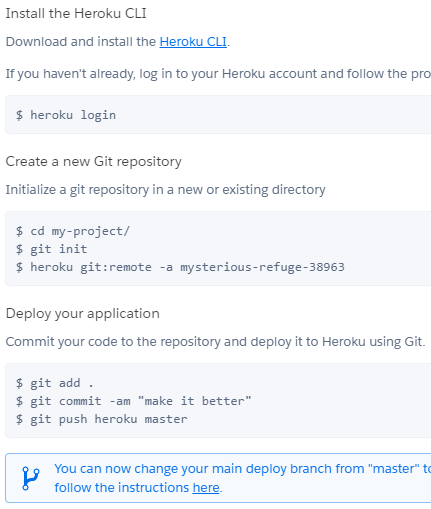
Deploy From Heroku CLI#
Go to the Deploy tab and follow the procedure to upload the server code with the Heroku CLI and Git. If you haven't got Git already, please install it first from this link.
Test your App#
If everything went smoothly, your server will now be running on the address <your-app-name>.herokuapp.com:80, which will be the address to connect from within the game (instead of localhost:8080).
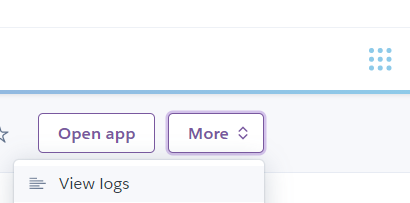
Note: to confirm that the server is up and running, go to the app logs and check that the server is started.